
_edited.png)

How to Design a Photo Booth for Any Event

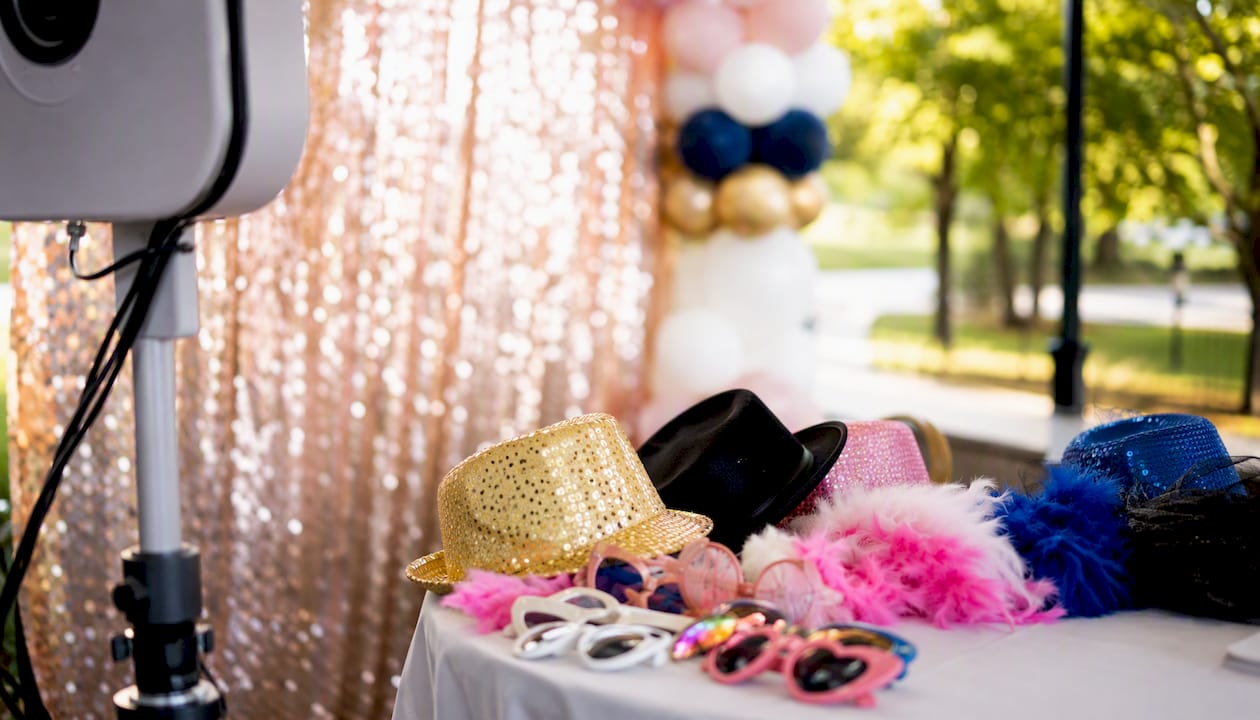
A finished photo booth design is a simple visual system: one clear theme, a 2–3 color palette, a layout matched to your print size, and an exported file that your booth software can actually open. Get those four things right, and everything else falls into place.
Here’s your quick-start checklist before you dive deeper:
Theme and color palette: pick 2–3 colors max and commit to them
Layout type: 2×6 strip, 4×6 postcard, or single-shot overlay
DPI and file format: 300 DPI for print; PNG for overlays; JPEG/TIFF for printers
Lighting: one facing light source, guests 2–3 feet from the backdrop
Props: 10–15 items in a tray, organized by category
Template tool: Canva, TemplatesBooth, Adobe Photoshop, DSLR Booth, LumaBooth, or Darkroom Booth
Choosing a focused visual system photographs as professionally as expensive rentals. The tools above each serve a different skill level and workflow, which the sections below break down clearly.
Key Takeaways
A finished photo booth design comes down to one visual system: theme, color palette, correct canvas size, and an exported file that matches your booth software.
Point | Details |
Lock your layout first | Choose 2×6 strip or 4×6 postcard before designing; resizing after causes text reflow. |
Match format to your app | Use PNG overlays for cross-platform use; PSD for full branding control in DSLR Booth or Darkroom Booth. |
Proof before the event | Test the final file in your actual booth app and scan the QR code from a printed proof. |
Lighting drives photo quality | Place guests 2–3 feet from the backdrop with one facing light source to avoid shadows. |
Terrifficsentertainment | Provides a fully managed AI-powered photobooth rental on Oahu with setup, prints, and an on-site attendant. |
Table of Contents
Where to get editable photo booth templates
The right template source depends on your editing skill and which booth software you’re running. Here’s how the main options stack up.
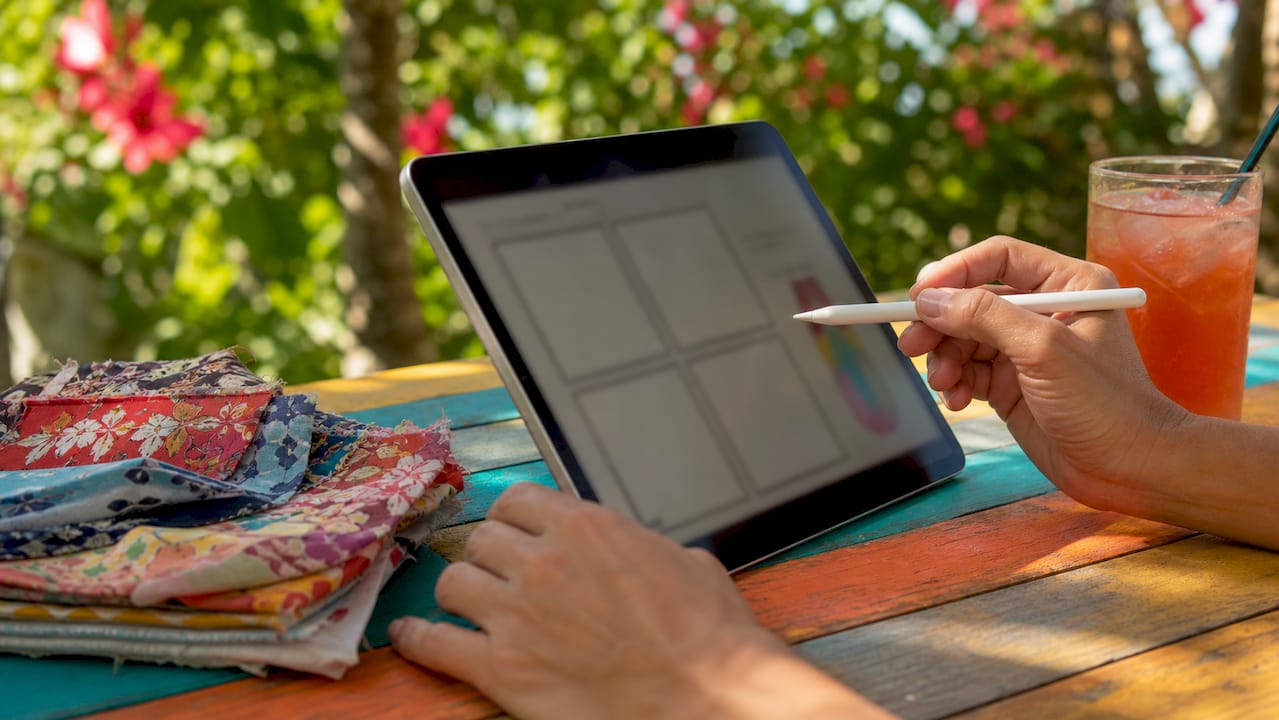
Canva is the fastest starting point for non-designers. Its free and customizable photo booth templates cover weddings, birthdays, and themed events, and you edit everything inside the browser with no software to install. The tradeoff: Canva exports are best for digital display or home printing, not for professional booth apps that require layered PSD or specific overlay formats.
TemplatesBooth solves the format problem. It offers photo booth templates in Canva, DSLR Booth, LumaBooth, Darkroom Booth, PSD, and PNG overlay formats, with layout options including 2×6 strips, 4×6 postcards, and animated overlays. If you need a file that drops straight into your booth app without reformatting, this is the most practical source.
Adobe Photoshop with a PSD template gives you the most control. You can adjust every layer, swap colors, and export to any format your printer or app requires. It’s the right choice when branding precision matters, like a corporate activation with exact hex codes.
PNG overlays work across almost every booth platform. They’re transparent-background files that sit on top of captured photos, so you don’t need to rebuild the whole template for each event.
Use Canva for quick edits and digital-only delivery
Use TemplatesBooth PSD or app-specific formats when you need booth-software compatibility
Use Adobe Photoshop when you need full layer control and custom branding
Use PNG overlays for cross-platform flexibility
Pro Tip: Before downloading any template, confirm it matches your exact layout size (2×6, 4×6, or square). Resizing a 4×6 template to fit a 2×6 strip causes text and logos to reflow in ways that are hard to fix quickly on event day.
Free template libraries are a good starting point, but paid options from TemplatesBooth typically include multiple file formats in one download, which saves reformatting time when you’re working across different booth setups.
Step-by-step checklist to design a photostrip or overlay
Follow these steps in order. Skipping ahead to fonts before you’ve locked your layout is the most common reason designs fall apart at export.
Define your event theme. Choose one visual direction: rustic, tropical, minimalist, bold retro. Write it down so every decision after this filters through it.
Lock your color palette. Pick exactly 2–3 colors. Using a strict three-color system for backdrop and accessories yields consistently curated photos even with budget materials.
Choose your layout. Decide between a strip (2–4 captures stacked vertically) or a postcard (single or multi-capture on a 4×6). The capture count affects how much design space you have around each photo cell.
Set your canvas size. A 2×6 strip at 300 DPI is 600×1800 pixels. A 4×6 at 300 DPI is 1200×1800 pixels. Build at full resolution from the start.
Add bleed and safe margins. Add 0.125 inches of bleed on all sides for print. Keep all text and logos at least 0.25 inches inside the trim line.
Place your logo and text. Keep logos in a corner or bottom strip. Minimum logo height should be readable at 2×6 print size, roughly 0.3 inches tall. Leave clear space equal to the logo height on all sides.
Choose fonts. Use no more than two typefaces. Test them against a sample photo at actual print size to confirm they’re legible.
Add QR codes and social handles. Size QR codes at least 1 inch × 1 inch on a 4×6 print. Smaller than that and phone cameras struggle to scan them.
Proof with real photos. Drop sample photos into the template cells before finalizing. Check for crop, color clash, and whether the QR code scans.
Test in your actual booth app. Upload the file to DSLR Booth, LumaBooth, Darkroom Booth, or your web app before the event. PhotoboothSupplyCo’s Design Studio documents exactly how to upload and test overlays inside their platform.
Export correctly. CMYK for print proofs, RGB for screen delivery. High-quality JPEG or TIFF for printers, PNG for overlays.
Pro Tip: Run a full test capture on the actual device guests will use, whether that’s a DSLR, mirrorless, or tablet camera. A design that looks perfect on your laptop monitor can show color shifts or cropping surprises on a different sensor.
Common layouts, sizes, and export specs
Getting the canvas size and export settings right before you start designing saves you from rebuilding files at the last minute.
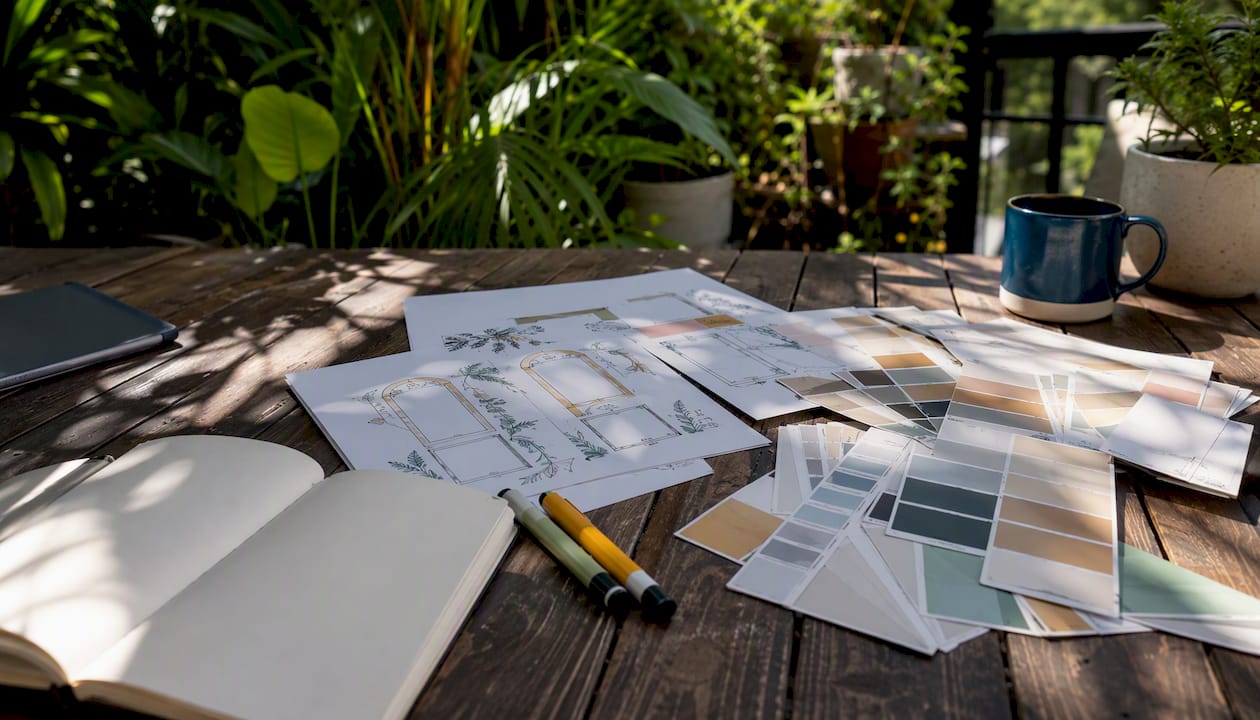
For instant-print booths, deliver a high-quality JPEG or TIFF at 300 DPI. For overlays displayed on screen or shared digitally, PNG with a transparent background is the standard. Keep PSD files as your editable master so you can swap colors or logos without rebuilding from scratch.
Most booth apps, including DSLR Booth and LumaBooth, accept PNG overlays at the canvas size you specify in their settings. Darkroom Booth uses its own template format but also accepts PNG overlays for simpler setups. Check each app’s maximum file size limit before exporting, since some web-based kiosks cap uploads at 5–10 MB.
Pro Tip: Always export a flattened proof JPEG alongside your working PSD. If the booth app has trouble reading the layered file, you have a ready backup that loads instantly.
Props, backdrop ideas, and photography tips that work
Lighting, backdrop contrast, and prop selection are the three most important factors that decide whether guests actually use a photo booth. A beautiful template means nothing if the photos themselves are dark or cluttered.
Backdrop ideas by setup time:
Sequin curtain: 10–15 minutes to hang, high visual impact, reflects light beautifully
Streamer fringe: 20–30 minutes to build, budget-friendly, works in any color palette
Balloon garland: 45–60 minutes, bold and festive, pairs well with birthday or graduation themes
Faux flower wall: 30–45 minutes with pre-made panels, elegant for weddings
Neon sign corner: 10 minutes, modern and social-media-ready, works as an accent rather than a full backdrop
DIY backdrop materials typically cost $15–$45 for quick builds like sequin curtains or streamer fringe. Setup time for those same builds runs 30–60 minutes.
Prop guidance: The three essentials for any DIY booth are a backdrop, basic props, and facing lighting. Limit props to 10–15 items in a small tray. Categories to include: face props (glasses, mustaches), signs (“Best Day Ever,” event hashtag), and wearables (hats, leis for Oahu events). Too many props clutter frames and slow guest flow.
Lighting rules:
Place guests 2–3 feet from the backdrop to create separation and avoid background shadows
Use one facing light source: a ring light or a natural window directly in front of guests
Avoid overhead-only lighting, which creates harsh shadows under eyes and chins
Pro Tip: Post a small sign at the booth showing guests where to stand and how many people fit in the frame. It speeds up the line and keeps photos consistently composed.
Which software and booth apps work with which template formats
Picking the wrong file format for your booth app is the most avoidable mistake in the whole process.
Template Format | Works With | Best For |
Canva export (JPEG/PNG) | Digital display, home printers, web galleries | Quick events, digital-only delivery |
PSD (Photoshop) | DSLR Booth, Darkroom Booth, custom print workflows | Full branding control, layered edits |
PNG overlay | LumaBooth, DSLR Booth, Darkroom Booth, web apps | Cross-platform overlay use |
DSLR Booth native | DSLR Booth only | Windows-based instant-print setups |
LumaBooth native | LumaBooth only | iPad-based booths with instant print |
Darkroom Booth native | Darkroom Booth only | Mac-based booths with print integration |
TemplatesBooth offers files in all of the above formats in a single download, which removes the guesswork when you’re not sure which app your rental uses.
Web-based booth apps built on platforms like Fabric.js can accept PNG overlays and custom backgrounds without requiring a native format. PhotoboothSupplyCo’s Design Studio lets you upload designs and test multi-capture and single-capture templates directly inside the browser before the event.
Instant-print booths need high-res JPEG or TIFF at 300 DPI delivered to the print driver
Web-based digital booths typically accept PNG overlays and JPEG backgrounds
Layered PSD files give you the most flexibility but require the app to support layered imports
Pro Tip: Download the free trial version of your booth app and run a test print at home before the event. A five-minute test the day before beats a 30-minute troubleshoot on the day.
Quick template ideas by event type
Each event type has a visual language. Match your template to it and guests recognize the mood before they even step in front of the camera.
Wedding: minimalist palette (white, ivory, sage or blush), floral or sequin backdrop, elegant serif font, monogram overlay in the corner. Keep text minimal. A wedding photobooth works best when the design feels like an extension of the invitation suite.
Birthday: bold colors matched to the party palette, balloon garland backdrop, large playful type with the guest of honor’s age. Check out birthday photobooth ideas for layout inspiration by age group.
Corporate: step-and-repeat look with the company logo repeated in a grid, short branded hashtag or QR code for lead capture, clean sans-serif font. Keep the color palette to brand hex codes only.
Graduation: school colors, classic 2×6 portrait strip, year and grad name in the bottom border. Simple layouts photograph better than complex ones when guests are in caps and gowns.
Kid parties: themed characters or pastel balloon clusters, low props placed on a table for safety, large rounded fonts. Avoid small decorative patterns that compete with faces in the frame.
Lighting and backdrop contrast drive photo quality regardless of event type. A well-lit sequin curtain at a kid’s party photographs just as well as an expensive floral wall at a wedding.
Design checks for legibility, accessibility, and social sharing
A template that looks great on your screen can fail in the real world if text is too small, contrast is too low, or the QR code doesn’t scan on a phone.
Check text contrast. White text on a light photo background disappears. Use a dark border, drop shadow, or a solid color band behind any text overlay.
Set minimum font size. On a 2×6 strip, body text should be at least 18pt at 300 DPI to stay legible after printing.
Size QR codes correctly. Minimum 1 inch × 1 inch on a 4×6 print. Test the scan from 12 inches away with a standard phone camera.
Shorten and brand your URLs. Long URLs under QR codes look messy. Use a branded short link so the URL itself reinforces your event or brand name.
Include your hashtag or handle. Place it in the bottom border of the strip where it won’t compete with faces. Keep it to one handle or one hashtag, not both.
Proof on a phone screen. Export a JPEG and view it on your phone at actual size. If you can’t read the text, neither can your guests.
Test in the booth app. Upload the final file and run a full capture cycle. Check that the overlay aligns, the QR code scans from the printed output, and colors match your proof.
Pro Tip: Use a free QR code testing tool to scan your code from the printed proof, not just the screen. Ink absorption on photo paper can slightly reduce contrast and cause scan failures.
When to DIY templates and when to rent a full photobooth service
The honest answer depends on three things: your guest count, how much setup time you have, and whether you want prints on the day.
DIY makes sense when:
Guest count is under 50
You have 2–3 hours to design, test, and set up
Digital-only delivery is acceptable
You’re comfortable with Canva or basic Photoshop
Professional rental makes sense when:
Guest count is 100 or more
You want instant prints with no printer troubleshooting
The event is branded and needs data capture or lead generation
You want zero setup responsibility on event day
DIY materials run $15–$45 for a basic backdrop and props. That’s a real savings for small gatherings. But for larger events, the time cost of designing, testing, printing, and staffing the booth often exceeds the rental fee, especially when you factor in troubleshooting on the day.
For Oahu planners weighing the options, the photobooth rental planning guide covers venue constraints, setup logistics, and what to ask a rental company before you book.
Pro Tip: If you’re on the fence, ask the rental company whether they provide an attendant. An on-site attendant handles guest flow, fixes jams, and keeps the line moving, which is worth the cost at any event over 75 guests.
What we’ve learned about photo booth design that actually works
The most common mistake we see is over-designing. Planners spend hours adding gradients, multiple fonts, and layered graphics, then wonder why the printed strips look busy. The photos are the product. Your template is the frame.
One strong theme, two or three colors, and one clean font will outperform a complex design every time. Proof the template in your actual booth app, not just in Canva or Photoshop. Colors shift between monitors and printers. A QR code that scans perfectly on screen may fail on glossy photo paper. Test it all before guests arrive, and you’ll spend the event enjoying it instead of fixing it.
Skip the setup stress with Terrifficsentertainment
Designing templates, sourcing props, calibrating printers, and staffing the booth is a full project on its own. Terrifficsentertainment’s AI-powered photobooth rental on Oahu handles all of it for you: professional setup and teardown, instant prints and digital delivery, a friendly on-site attendant, and custom overlays matched to your event.
You get guaranteed lighting, a tested template, and a booth that’s ready before your first guest walks in. No printer troubleshooting. No last-minute format errors. Just great photos your guests will actually share. Check availability and book your photobooth rental for your next Oahu event.
Sources
Always confirm the file format your booth app or printer accepts before downloading a template. A quick check saves a last-minute rebuild.
Recommended
Comments