
_edited.png)

Photo Scanning for Slideshow: The Right Method by Batch Size

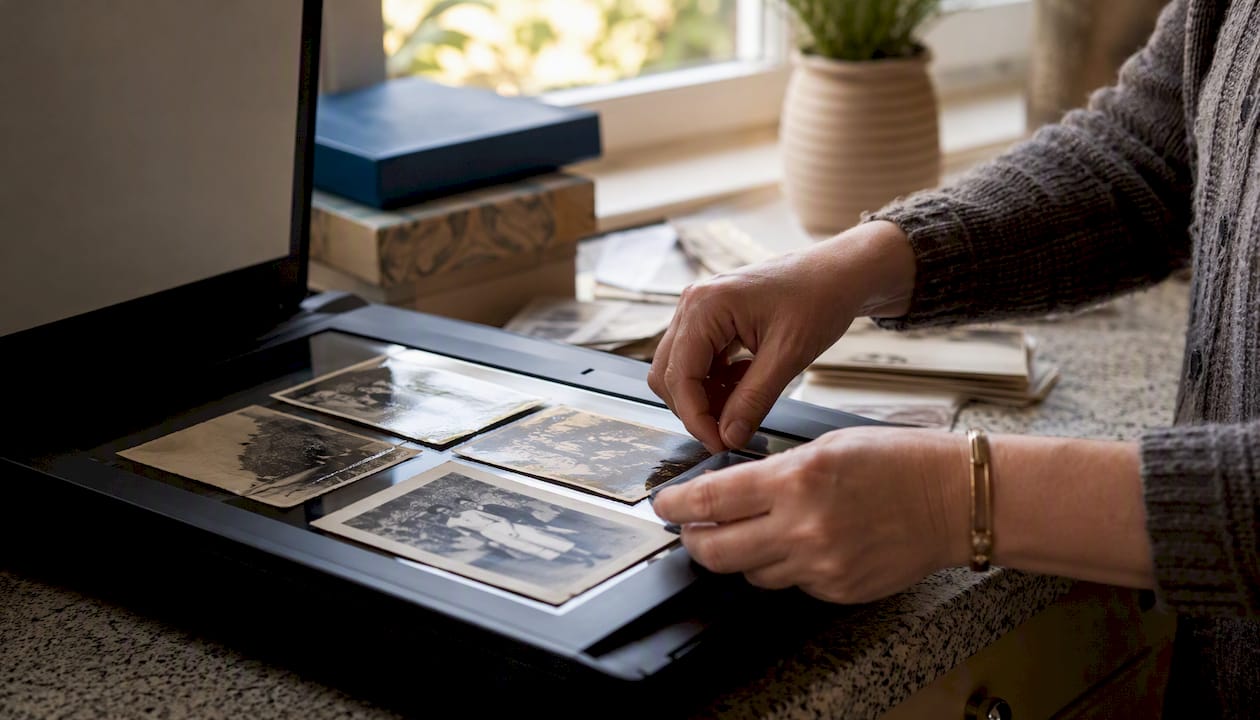
If you have a small number of prints, grab your phone and use a scanning app. For moderate volumes, a flatbed or feeder scanner will save your sanity. For anything fragile, mixed-format, or headed for a memorial, hand it to a professional scanning service. That’s the entire decision tree.
Here’s what each route actually delivers:
Phone apps (Google PhotoScan, Adobe Scan, Photomyne): free or cheap, fast, good enough for screen viewing, weaker on color accuracy and fine detail.
Home scanners (flatbed or high-speed feeder): higher image quality, real DPI control, slower per photo but consistent.
Professional services (like ScanMyPhotos): best for slides, negatives, damaged prints, and large mixed collections; you pay per photo but get archival-grade results with zero handling risk on your end.
For file rules, keep it simple: scan photos at a resolution suitable for slideshow use and higher for archival copies that survive future reprints. Save a high-quality JPEG for the slideshow itself and a TIFF or max-quality JPEG as your permanent backup copy. Slides and negatives need more resolution because you’re capturing far more detail packed into a smaller frame.
Quick Stat: Comparative testing on phone-based scanning found clear tradeoffs: apps win on speed and convenience for small batches, while dedicated scanners win on fidelity for archival or high-volume work.
Pro Tip: Before you commit to scanning 500 photos one way, scan five of them using two different methods and preview both sets on the screen or projector you’ll actually use for the slideshow. Fifteen minutes of testing now can save you a weekend of redoing work later.
Point | Details |
Match method to volume | Phone apps for under 100 photos, scanners for 100 to 1,000, pros for fragile or archival jobs. |
Use 300 DPI minimum | Scan at 300 DPI for slideshow display and higher resolution for archival copies you might reprint. |
Save two file versions | Keep a TIFF or max-quality JPEG archive copy separate from your resized slideshow JPEG. |
Key Takeaways
The right scanning method depends entirely on your photo count and originals’ condition: phones for small batches, scanners for volume, and professionals for fragile or archival work.
Point | Details |
Pick your method first | Match phone apps, home scanners, or a pro service to your batch size and photo condition. |
Test one photo first | Scan and preview a single image on your target display before processing the full batch. |
Follow the DPI rule | Use 300 DPI for slideshow display, —+ for archival copies, and 1,200 to 2,400 DPI for slides. |
Organize before you scan | Set up folder and filename conventions before scanning, not after. |
Consider Terrifficsentertainment | For event-ready delivery, Terrifficsentertainment builds and plays back the final slideshow on-site. |
Table of Contents
How to Scan Photos for a Slideshow Using Your Phone
Phone scanning is the fastest way to get a small stack of prints ready for a slideshow, and it works because modern scanning apps do the hard part for you.
Clean the photo. Wipe dust off with a soft, dry microfiber cloth. Never use a wet cloth on old prints.
Find soft, indirect light. A spot near a window works well. Direct flash creates glare and hot spots that ruin the scan, so avoid it entirely.
Lay the photo flat on a dark, non-reflective surface, like a table with a black cloth or placemat.
Open your scanning app and let it detect the photo’s edges automatically.
Capture and review the auto-cropped result before moving to the next photo.
Export as JPEG at your app’s highest quality setting.
For app choice, Google’s PhotoScan tool automates edge detection, perspective correction, and glare reduction in one capture sequence, which makes it a solid default for anyone with a stack of loose prints. Adobe Scan handles similar automation and adds cleanup tools useful for slightly warped or curled photos. Photomyne stands out for batch work: it can detect and separate multiple photos in a single frame, so if you’re photographing a full photo album page at once, it will split each print into its own file automatically. Photomyne’s free tier caps how many scans you get before asking for a subscription, so budget for that if you’re processing hundreds of images.
Pro Tip: Turn off your flash manually inside the camera or scanning app settings, don’t just rely on the app to skip it automatically. Some apps default to flash-on in low light, and that single setting can wreck an otherwise perfect scan.
Phone scanning has real limits. Color fidelity suffers compared to a dedicated scanner, especially on faded or yellowed prints, and the resolution ceiling depends entirely on your phone’s camera. For a quick memorial slideshow assembled quickly, it’s the right tool. For photos you want to preserve at true archival quality, it’s not.
Setting Up a Home Scanner for Batch Photo Digitization
When you’re working through a shoebox of 300 photos, a phone app turns into a tedious, hours-long chore. This is where a flatbed or feeder scanner earns its keep.
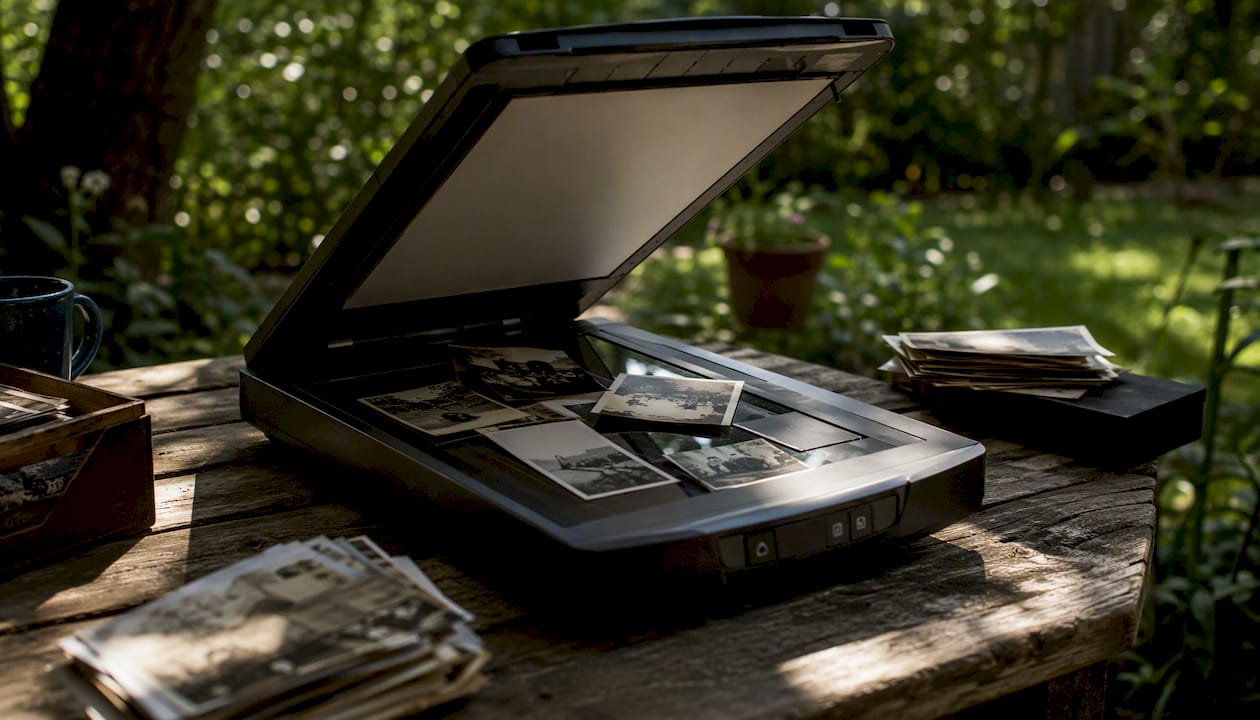
Flatbed scanners give you great image quality per photo and handle odd sizes, warped prints, and delicate originals without feeding stress. They’re slower since you load one (or a few) photos at a time, but the control over positioning makes them the better choice for anything fragile or irregularly shaped.
High-speed feeder scanners, like the Epson FastFoto FF-580W, are built for volume. They can pull dozens of standard-size prints through in minutes, scanning the front and back simultaneously, which is genuinely useful if your prints have handwritten dates or notes on the back. Feeders aren’t ideal for curled, taped, or brittle photos, though. Force one of those through a feeder mechanism and you risk a jam or a tear.
Here’s how settings typically break down by use case:
For batch work, save yourself hours by setting up a naming preset before you start (more on that shortly), and scan in short sessions rather than one marathon sitting. Scanner glass picks up dust and fingerprints fast, and a smudge you don’t notice on photo 40 will show up on every scan after it until you clean the glass again.
Pro Tip: If your scanner software offers a batch or “auto-detect multiple photos” mode, use it when scanning several small prints at once on the flatbed. It saves you from repositioning and rescanning one photo at a time.
How Do You Digitize Slides and Film Negatives?
Slides and negatives need a completely different approach than prints because you’re capturing light passing through the film, not light bouncing off paper. That difference in physics means backlit capture and higher effective DPI are non-negotiable if you want usable detail.
Choose your equipment. A dedicated slide scanner or a flatbed scanner with a transparency adapter both work; dedicated units generally produce sharper results.
Set your DPI high. Aim for 1,200 to 2,400 DPI since slides and negatives are physically small and hold far more detail per square inch than a printed photo.
Let software handle inversion. Negatives require color inversion and density correction, which most slide-scanning software does automatically. Don’t skip this step manually unless you’re comfortable in an image editor.
Save two versions. Keep a high-resolution TIFF for archiving and a resized JPEG sized for your slideshow export.
Handle the film by its edges only. Oils from your fingers can permanently mark the emulsion side.
Equipment options break down by scale:
A dedicated slide scanner works best if you have hundreds of slides and want repeatable quality without shipping anything.
A flatbed scanner with a film adapter is a reasonable middle ground for smaller collections.
A professional service, like ScanMyPhotos, makes sense for large or badly deteriorated collections, or when you simply don’t have time to babysit a slow slide-scanning process.
Pro Tip: Store slides you haven’t scanned yet in a cool, dry place away from direct sunlight. Heat and humidity accelerate color fading and emulsion damage, and you can lose detail permanently before you ever get to the scanner.
Naming and Backing Up Your Scanned Photos
The single biggest cause of slideshow chaos isn’t bad scans. It’s disorganized files. Fix this before you touch slideshow software.
Use a consistent filename format like 001_1978_Wedding.jpg or 042_1995_Graduation.jpg. Sequential numbering plus a short descriptive tag makes it easy to reorder photos chronologically later, and it prevents the nightmare of forty files named IMG_0001.jpg through IMG_0040.jpg with no context.
Create one master folder per event or decade.
Scan directly into that folder using your naming convention from the start, not after the fact.
Copy the entire folder to a second local drive.
Upload a copy to a cloud service (Google Drive, Dropbox, or similar).
Open a few random files from the cloud copy to confirm they opened correctly. That two-minute check catches corrupted uploads before you’ve deleted your originals.
Before importing anything into slideshow software, jot down basic details for each photo: rough date, names of people, and location if you know it. This becomes your caption text later, and it’s far easier to gather while the photo is fresh in your mind than to reconstruct months afterward.
Pro Tip: If you’re building a memorial slideshow, send a text or email to family members asking them to share their own photos of the person before you finalize your folder. You’ll almost always get a few images nobody else has, and it’s much easier to fold them in early than to rebuild the slideshow later.
What’s the Fastest Way to Fix Old, Faded Photos?
Auto-enhance: Most phone apps and desktop editors have a one-tap auto-fix that corrects exposure and color balance reasonably well.
Crop: Straighten and trim any scanner bed edges or shadow borders.
Sharpen: A light sharpening pass helps counteract the slight softness scanning introduces.
Dust spot removal: Many editors include a spot-healing or dust-removal tool that clones nearby pixels over small blemishes.
A simple standardization workflow: auto-enhance first, then crop, then check brightness against a couple of neighboring photos so the slideshow doesn’t jump between dark and bright images. Do this in batches of similar photos (same era, same lighting condition) rather than one at a time for the whole collection.
Resist the urge to over-restore. Cranking saturation and contrast to make a faded 1985 photo look like it was shot yesterday tends to produce an unnatural, plasticky look that pulls attention away from the people in the photo. For a memorial slideshow, the goal is legibility and warmth, not a magazine cover.
Pro Tip: Save your quick fixes for slideshow use only and keep the untouched scan as your archive copy. If you decide later you want a deeper restoration (removing a crease, repairing a tear), you’ll want the original detail intact to work from.
For time versus payoff: quick fixes are worth doing on every photo going into a memorial slideshow. Deep restoration (rebuilding torn corners, removing scratches pixel by pixel) is worth it only for a handful of standout photos, since it can take twenty minutes or more per image.
How to Format Your Slideshow for Modern Screens
Once your images are cleaned up, the technical settings for the slideshow itself matter just as much as the scans.
Set aspect ratio to 16:9. PowerPoint and most modern slideshow tools default to widescreen because it fills current TVs and projectors edge to edge, with no black bars on the sides.
Resize for your export target. For 1080p, aim for images around 1920 by 1080 pixels; for 4K, roughly 3840 by 2160. Resize down from a higher-resolution scan rather than stretching a smaller image up, since upscaling adds blur and artifacts.
Set slide timing. For memorials and family presentations, 4 to 6 seconds per photo gives viewers time to recognize faces without dragging.
Use simple transitions. A basic fade or dissolve reads as more respectful for a memorial than flashy wipe effects.
Add captions sparingly. A name and year in a corner works better than a full paragraph on screen.
Here’s how the two most common formats compare:
For music and captions, most slideshow tools let you drop an audio track underneath your photo sequence and adjust timing so transitions roughly line up with musical beats or lyric changes. PowerPoint’s built-in Designer feature can suggest layout templates automatically once you drop photos onto a slide, which speeds up formatting if you’re not picky about custom design. Dedicated slideshow makers, like Picsart’s slideshow tool, add motion effects (like the classic slow pan-and-zoom look) and export directly to MP4 alongside PowerPoint and PDF formats.
DIY Speed vs. Professional Scanning: What Will It Actually Cost You?
Time and money trade off directly here, so plan around whichever one you have less of.
Phone scanning: roughly 60 to 100 photos per hour once you’ve got a rhythm going, limited mostly by how fast you can position and light each print.
Flatbed scanner: roughly 20 to 40 photos per hour, since you’re loading and waiting on each scan individually.
Feeder scanner: several hundred photos per hour, since it pulls prints through continuously.
Professional services: you ship a box and wait, typically one to three weeks turnaround, but throughput on their end can be thousands of photos per day.
Quick Stat: Professional scanning services commonly bundle prints, slides, negatives, and album pages together, along with restoration and slideshow creation, at per-photo pricing that varies by format and volume.
A realistic timeline: a single person scanning 300 prints at home with a feeder scanner can finish in a weekend, cleanup included. Mailing a shoebox of 1,000 mixed photos and slides to a pro service typically means a few weeks of turnaround, but you get archival-grade files back without spending your own hours at a scanner. If your equipment cost gets amortized across a one-time project, per-photo DIY cost is usually lower than a pro service. But if you factor in the hours of your own time, especially on slides and negatives that need careful handling, the math shifts toward outsourcing for larger or more fragile collections.
Comparing Phone, Scanner, and Professional Scanning Methods
Category | Best for | Image quality | Throughput | Cost | Cleanup needed |
Phone scanning app | Small batches, urgent turnaround | Good for screen viewing | High, once you find a rhythm | Free to low cost | Light, mostly auto-handled |
Flatbed/feeder scanner | Medium to large batches, prints | High, true DPI control | Medium (flatbed) to high (feeder) | Moderate, one-time hardware cost | Light to moderate |
Professional service | Slides, negatives, fragile or archival jobs | Highest, archival grade | Very high on their end | Per-photo fee, varies by volume | Minimal, often done for you |
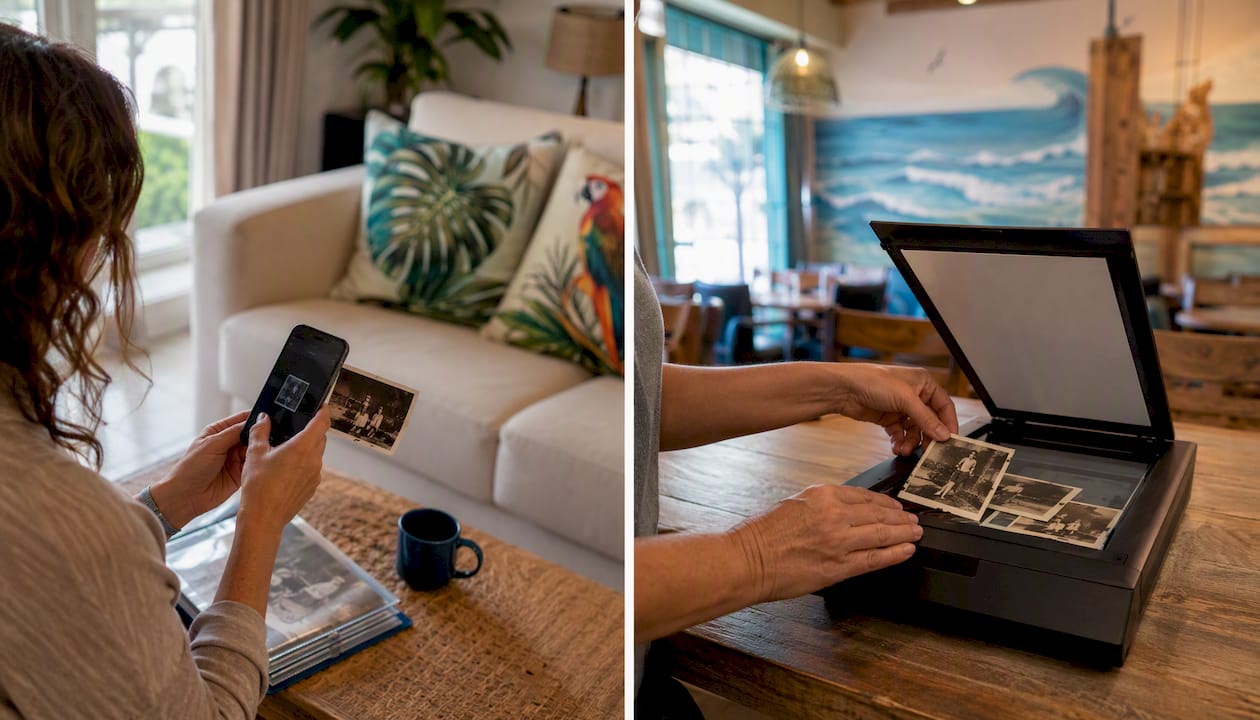
If you’re still deciding, the short version holds up: phone apps for speed on small jobs, a scanner for medium volume where you want quality control, and a pro service when originals are fragile, mixed-format, or need archival-grade handling. The one edge case worth flagging is a mixed box, prints, slides, and negatives all together. In that situation, splitting the job (prints at home, slides and negatives to a pro) often beats forcing everything through one method.
When Should You Just Hire a Professional Scanning Service?
Some collections aren’t worth the DIY risk. If your photos are brittle, water-damaged, stuck to old album pages, or you’re dealing with hundreds of slides mixed in with negatives and prints, a professional service removes the handling risk entirely and usually delivers better results than you’d get on a home scanner.
Ask any service you’re considering:
What DPI and color depth do they scan at by default, and can you request higher?
What file formats do you receive (JPEG only, or TIFF archival copies too)?
What’s the turnaround time, and is expedited service available?
Is there insurance or a replacement policy if something happens to your originals in transit?
Do they offer restoration or slideshow creation as an add-on?
Gather your originals and sort them by format (prints, slides, negatives, albums).
Count roughly how many you have of each type, since most services price per photo or per lot.
Request a written quote before shipping anything.
Ask specifically how they package and return your originals.
Pricing structures vary, but expect per-photo rates for standard prints and separate rates for slides and negatives, since those require more careful handling. Getting an itemized quote up front avoids surprises when the box comes back.
Combining Scanned Photos with Music and Captions
Once your images are scanned, cleaned, and named, the last technical step is turning them into an actual slideshow with sound and text.
Most slideshow software, PowerPoint included, lets you drop photos onto slides in sequence, then add a caption text box directly on each slide or as a subtitle bar along the bottom. Keep captions short: a name and a year reads faster on a screen than a full sentence, especially at a memorial where people are watching, not reading.
For music, import your audio track once at the start of the slideshow and set it to play across all slides rather than looping per slide, to avoid awkward restarts. Adjust slide timing so transitions roughly align with the music’s natural breaks; verse changes are a practical rough guide. If you’re using a tool with drag-and-drop timeline editing, you can nudge individual slides a second or two to line up a meaningful photo with a specific lyric or musical swell. Don’t over-engineer this part. A slideshow that’s roughly in sync feels natural; one that’s perfectly synced to the beat can actually feel distracting.
Common File Management Mistakes That Ruin a Slideshow
The mistakes that derail slideshow projects almost always happen before anyone opens slideshow software.
Scanning without a naming system, leaving you with hundreds of files named by camera default (IMG_2341.jpg) and no way to sort them chronologically.
Skipping backups entirely, then losing a laptop or corrupting a drive after weeks of scanning work.
Mixing archival and slideshow-ready files in the same folder, which leads to accidentally importing an oversized TIFF into your slideshow and slowing playback.
Not tracking which photos still need scanning, especially when multiple family members are scanning separately and duplicating effort.
Overwriting original scans with heavily edited versions, losing the ability to start over if an edit goes wrong.
The fix for most of these is the same: set up your folder structure and naming convention before you scan a single photo, not after you’ve already got 200 files to sort retroactively.
How Do You Color-Correct Faded Scanned Photos?
Scanned slides and old prints often come out with a color cast, commonly a yellow, orange, or magenta tint from decades of dye degradation. Correcting this is different from correcting a normal digital photo, because you’re compensating for chemical fading rather than a camera exposure error.
From there, manually nudge the color temperature slider toward blue if the image still reads too warm or yellow, a common issue with photos from the 1970s and 80s. For contrast, slides tend to need a gentler touch than negatives-turned-prints because slide film often held onto more of its original dynamic range. If a photo looks flat and gray after inversion (common with negatives), bump the contrast slightly before touching color, since a flat image can make color casts look worse than they are.
Work on one photo from each era or roll at a time, apply your correction, then check whether the same settings work reasonably well across the rest of that batch. Photos from the same roll or the same box usually faded in similar ways, so a correction preset built for one image often saves time on ten more.
Getting Consistent Results When Scanning with a Phone
The difference between a mediocre phone scan and a genuinely clean one usually comes down to two things you control completely: light and position.
Keep your phone parallel to the photo, directly overhead, not at an angle. Most scanning apps will warn you or auto-correct minor tilt, but starting square saves the app from having to guess. For light, natural daylight from a window, indirect and not glaring, produces the most even results. If you’re stuck scanning at night, position a lamp off to one side rather than straight overhead, since direct overhead light on a glossy photo creates a hot spot right in the middle of your image.
Set up a dedicated scanning station if you’re doing more than a handful of photos: same table, same lighting, same phone position each time. Consistency here means less correction work later, since every photo in a batch will have a similar exposure and color starting point, making batch color correction and enhancement far faster.
What an Event Pro Wishes Every Family Knew Before Slideshow Night
Most of the slideshow disasters we’ve seen at events trace back to one thing: nobody tested playback on the actual screen before the event started.
A slideshow that looks perfect on a laptop can look completely different on a projector or a big-screen TV. Colors shift, contrast flattens, and text that seemed readable on a 13-inch laptop screen can turn into a blur from across a banquet hall. If you’re running your own slideshow at a wedding, graduation, or memorial, load the final file onto the actual playback device (or at least a similar one) and watch it start to finish before the day arrives.
Audio sync matters just as much as image quality. If your music and photo transitions are timed loosely, that’s fine on a laptop where you’re sitting close. On a large screen with a sound system, small timing gaps become obvious. Check your audio levels against the room’s actual speakers, not your laptop’s built-in speakers, since testing the full playback chain ahead of time catches problems you simply can’t hear otherwise.
Pro Tip: Bring a backup copy of your slideshow on a USB drive even if you’re playing from a laptop or streaming service. We’ve seen more slideshow delays caused by a dead laptop battery or a lost Wi-Fi connection than by any actual file problem.
If you want to see what a finished, event-ready slideshow actually looks like on a big screen, our event gallery has examples from real Oahu celebrations, and our slideshow creation page walks through how we handle the full process from raw scans to final playback.
How Terriffics Handles Your Scanned Photos and Slideshow Delivery
You’ve done the hard part: scanning, sorting, and cleaning up years of photos. Terrifficsentertainment picks up from there, turning your finished scans into a polished slideshow and setting it up to play flawlessly at your event, no laptop troubleshooting required on your end.
Send us your highest-quality scans (300 DPI minimum, higher if you have it), your preferred song list, and your target aspect ratio, and we’ll build a slideshow that’s ready for the screen at your venue. If you’re still deciding how to capture photos at the event itself, our photobooth rental adds a live digital layer to the memories you’re already collecting, perfect for adding fresh photos alongside the older ones in your slideshow. We bring our own playback equipment and test everything on-site before guests arrive, so you’re not stuck debugging a frozen screen mid-celebration. Reach out with your event date and we’ll walk you through exactly what to send for a quote.
Sources
Recommended
Comments